How to Create Dynamic OG Images in Astro with Cloudinary
If you’ve ever shared a link on Twitter or LinkedIn and cringed at the generic preview image, this one’s for you. I got tired of manually creating OG images for every page on my site, so I set up a system where Cloudinary generates them dynamically with custom text overlays.
What We’re Building
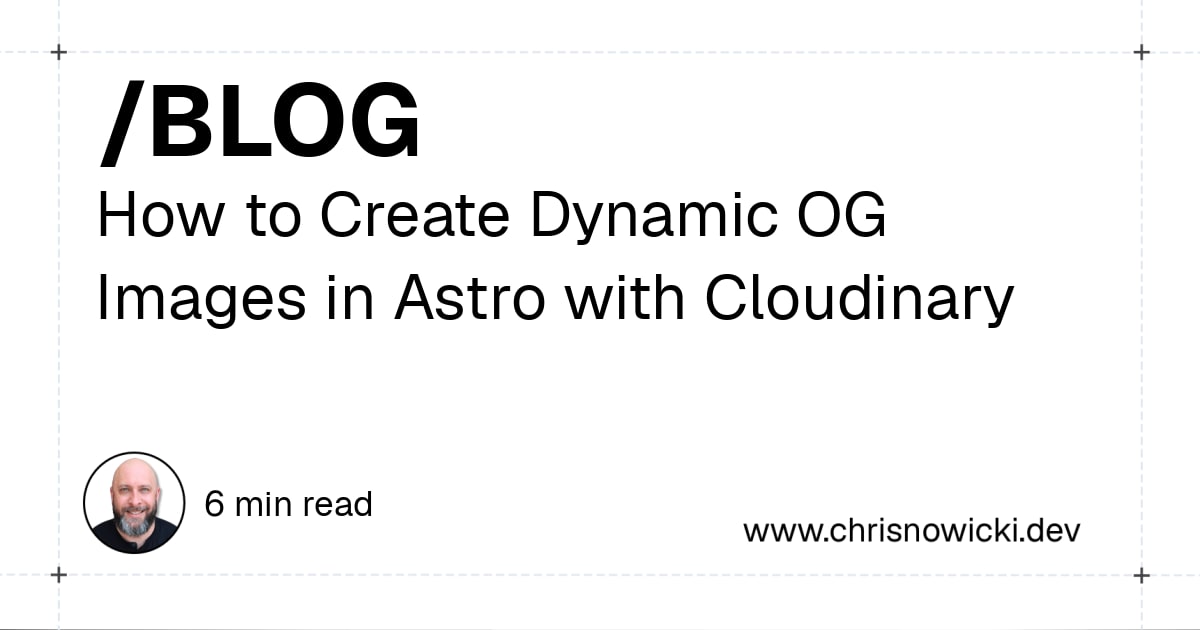
We’re going to upload a base template to Cloudinary and layer dynamic text on top of it using URL-based transformations. The astro-cloudinary package makes this super easy.
Here’s what the end result looks like:
Prerequisites
- You have an Astro project set up
- You have a Cloudinary account (free tier works great)
- You’re somewhat familiar with how OG meta tags work
Step 1: Create Your OG Template
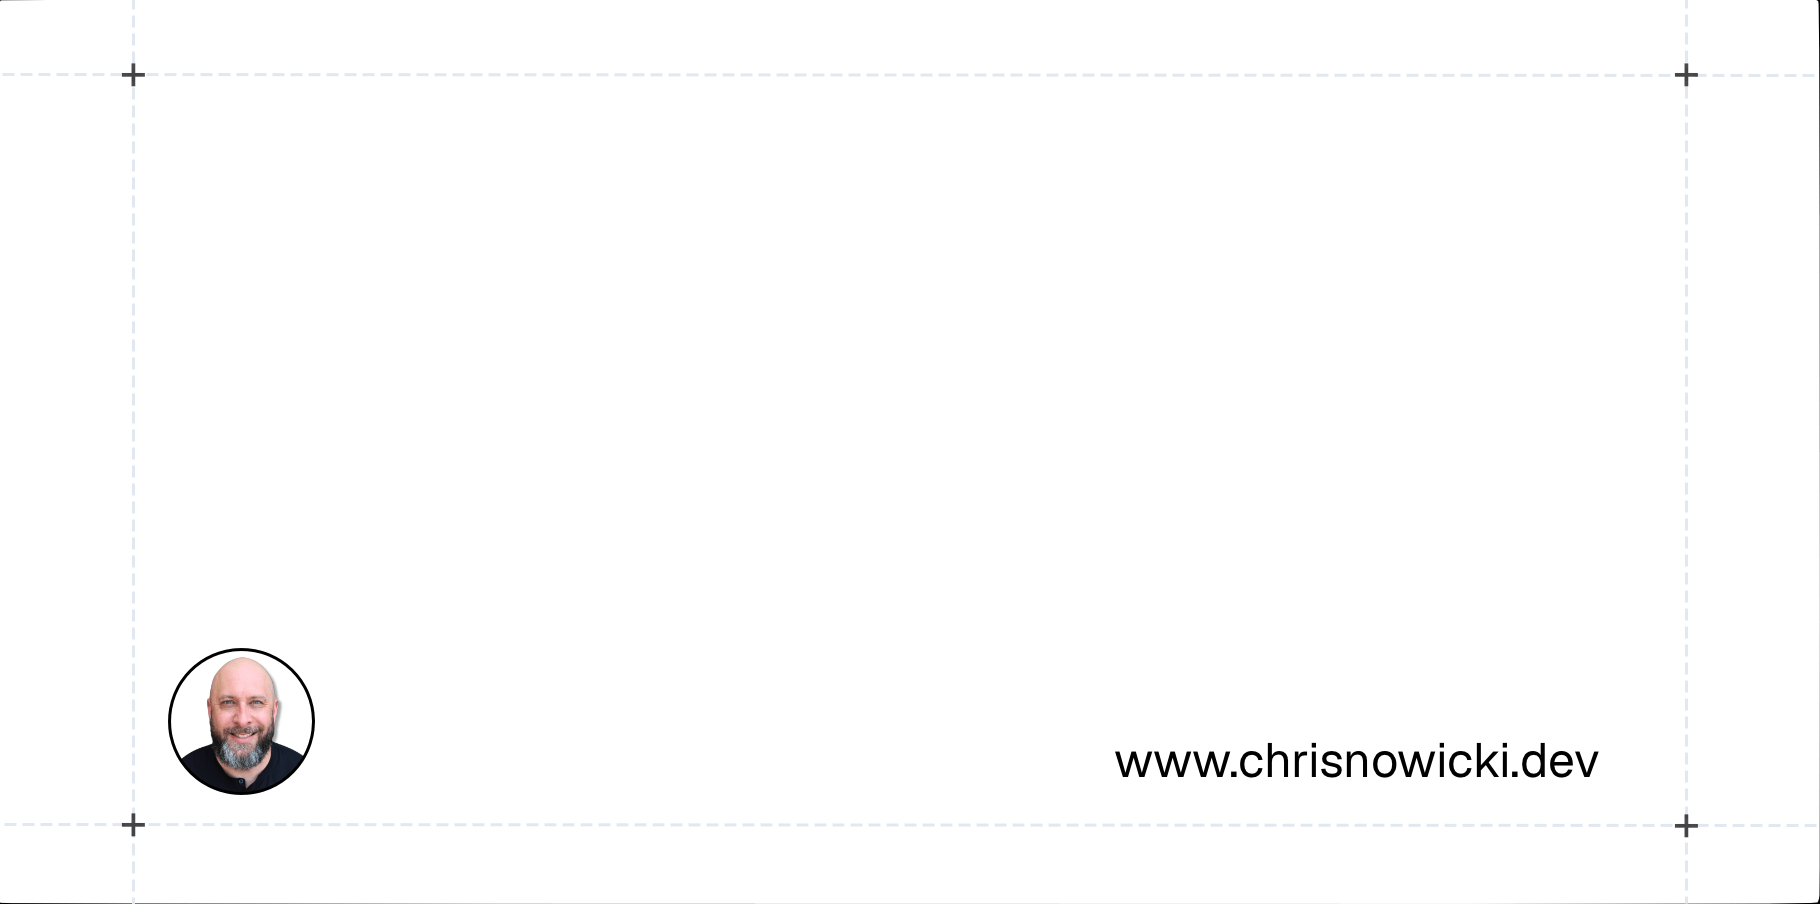
First, you need a base image template. This is the background that Cloudinary will overlay text onto. Design it at 1200x630 pixels (the standard OG image size) with empty space where you want your dynamic text to go.
Upload this template to your Cloudinary media library. Take note of the public ID, which includes the folder path. For example, mine is portfolio/og-template, where portfolio is the folder and og-template is the image name.
Here’s what my template looks like:
Step 2: Install astro-cloudinary
pnpm add astro-cloudinaryThen add your Cloudinary cloud name to your .env file:
PUBLIC_CLOUDINARY_CLOUD_NAME=your_cloud_nameStep 3: Create the OG Image Utility
Here’s where the magic happens. Create a utility function that generates a Cloudinary URL with text overlays.
import { getCldOgImageUrl } from 'astro-cloudinary/helpers'
// Cloudinary uses commas as URL delimiters, so we need to replace// any commas in our text with a URL-encoded unicode characterfunction formatCloudinaryText(text: string): string {  if (!text.includes(',')) {    return text  }
  const CLOUDINARY_COMMA = '%E2%80%9A'  return text.replace(/,/g, CLOUDINARY_COMMA)}
const publicId = 'portfolio/og-template' // your template's public ID
interface GenerateOgImageUrlProps {  header: string  description: string  readTime?: string}
const generateOgImageUrl = ({  header,  description,  readTime,}: GenerateOgImageUrlProps): string => {  const formattedDescription = formatCloudinaryText(description)
  // Using Arial here. Swap for a custom font if you follow Step 4  const baseOverlays = [    {      position: {        x: 100,        y: 80,        gravity: 'north_west',      },      text: {        color: 'black',        fontFamily: 'Arial',        fontSize: 100,        text: header,      },    },    {      width: 1000,      crop: 'fit',      position: {        x: 100,        y: 190,        gravity: 'north_west',      },      text: {        color: 'black',        fontFamily: 'Arial',        fontSize: 65,        text: formattedDescription,      },    },  ]
  const overlays = readTime    ? [        ...baseOverlays,        {          position: {            x: 205,            y: 490,            gravity: 'north_west',          },          text: {            color: 'black',            fontFamily: 'Arial',            fontSize: 35,            text: readTime,          },        },      ]    : baseOverlays
  return getCldOgImageUrl({    src: publicId,    width: 1200,    height: 630,    format: 'jpg',    quality: 'auto',    overlays,  })}
export default generateOgImageUrl
Let’s break down what’s happening:
getCldOgImageUrlfromastro-cloudinary/helpersgenerates a Cloudinary URL with all of our transformations baked in. No API calls at runtime, it’s just a URL.overlaysis an array of text layers. Each one has a position, font, size, and the text content.gravity: 'north_west'anchors positioning from the top-left corner, soxandyare offsets from there.widthandcrop: 'fit'on the description ensures long text wraps instead of overflowing.- If a
readTimeis provided (for blog posts), we add a third overlay to display it.
Step 4: Using Custom Fonts
This step is optional. Cloudinary supports standard fonts (Arial, Times New Roman, etc.) and Google Fonts out of the box. Just use the font name as the fontFamily value. If that’s enough for you, skip ahead to Step 5.
Want to use a custom font like Geist? Here’s the catch. You can’t just drag and drop a font file into the Cloudinary media library and call it a day. Font files need to be uploaded as authenticated raw assets. This means the font file is protected from being downloaded directly, but Cloudinary can still use it in transformations.
You’ll need to upload the font using the Cloudinary API with resource_type: 'raw' and type: 'authenticated'. Here’s a simplified example using curl (see the Cloudinary upload docs for the full signed upload flow):
curl https://api.cloudinary.com/v1_1/YOUR_CLOUD_NAME/raw/authenticated/upload \ -X POST \ -F "file=@Geist-Bold.ttf" \ -F "public_id=Geist-Bold.ttf" \ -F "api_key=YOUR_API_KEY" \ -F "api_secret=YOUR_API_SECRET" \ -F "timestamp=$(date +%s)"The key parts here:
resource_type: 'raw'- font files aren’t images or videos, so they fall under Cloudinary’s “raw” category. This is baked into the URL path (/raw/authenticated/upload).type: 'authenticated'- this protects the font from being downloaded by users while still allowing Cloudinary to use it in transformations. This is important for licensed fonts.public_id- set this to the font filename (e.g.,Geist-Bold.ttf). This is what you’ll reference in thefontFamilyfield of your overlays.
Once uploaded, you reference the font by its public ID in the fontFamily field and you’re good to go. I’m using Geist (Bold and Regular) but you can use whatever fits your brand.
Check out the Cloudinary custom fonts docs for more details.
Step 5: Wire It Up in Your Pages
Now we need to wire the generated URL into the actual page. In Astro, you’ll typically have a layout component that wraps all your pages. Here’s how to set yours up to accept an optional image prop for the OG image.
The key details: default image to a static fallback (like /og.png) so pages without a dynamic OG image still work. And since Cloudinary URLs are already absolute, pass them through as-is — local images need the full site URL prepended:
---import { SITE } from '@/lib/site'
interface Props {  title: string  description: string  image?: string}
const { title, description, image = '/og.png' } = Astro.props
const getImageUrl = (img: string) => {  if (img.startsWith('http')) {    return img // Cloudinary URLs are already absolute  }  return new URL(img, Astro.url) // Local images need the full URL}
const imageUrl = getImageUrl(image)---
<html lang="en">  <head>    <title>{`${title} | ${SITE.NAME}`}</title>    <meta name="description" content={description} />
    <!-- Open Graph -->    <meta property="og:image" content={imageUrl} />    <meta property="og:image:width" content="1200" />    <meta property="og:image:height" content="630" />
    <!-- Twitter -->    <meta property="twitter:card" content="summary_large_image" />    <meta property="twitter:image" content={imageUrl} />  </head>  <body>    <slot />  </body></html>
Now in any page, generate the OG image URL and pass it to your layout:
---import PageLayout from '@/layouts/PageLayout.astro'import generateOgImageUrl from '@/utils/og-image'
// `post` and `postReadTime` come from your content collection logicconst ogImageUrl = generateOgImageUrl({  header: '/BLOG',  description: post.data.title,  readTime: postReadTime,})---
<PageLayout  title={post.data.title}  description={post.data.description}  image={ogImageUrl}>  <!-- your page content --></PageLayout>
And that’s the wiring done. Each page now generates its own unique OG image based on the content. No build step, no image processing. Cloudinary handles it all through URL transformations.
Testing Your OG Images
You can test your OG images using these tools:
- OpenGraph.xyz - preview how your link will look when shared
- Social Share Preview - test how your link looks across social platforms
- Or just paste the generated Cloudinary URL directly in your browser to see the image
Conclusion
And that is it! No more manually creating OG images in Figma for every new page. Upload a template, add some text overlays, and Cloudinary handles the rest. The best part is there’s no server-side rendering or edge function needed. It’s literally just a URL with transformations baked in.
If you have any questions or want to see how I’m using this across my entire site, check out the source code.